You've heard about React hooks and you start to get a grasp on it, you understand what the main ones do and use them effortlessly in your components.
It's time to level up and to start creating your custom hooks to contain the business logic of your application.
The main benefit of building your own hooks is that you can encapsulate the logic and reuse them across your application, avoiding repeating code in multiple places.
Let's imagine an application that displays 2 set of items to the users: tasks and projects. For this you have 2 separate components that call 2 different API endpoints. You need to handle the request lifecycle and keep the state for both of them so let's try to code a solution that would work for each case.
Creating the hook
The standard practice for hooks in React is that their name starts with use, so we'll call our hook useItemsLoader
const useItemsLoader = () => {};
Defining the state, input and output
We want to make the hook configurable for different endpoints so we will add an input parameter with this.
Our hook will be responsible for storing the data (with the items) and the state of the request (LOADING, DONE and ERROR). Since the shape of the data is simple enough (just a couple of fields) we'll store it in a single variable. We will use the useState hook for this.
Finally, we will return the data so the caller component of the hook can render itself properly.
const useItemsLoader = (endpoint) => {
  const [data, setData] = useState({ items: null, state: 'LOADING' });
  return data;
};
Requesting the data
We need a way to trigger the request, so we will use the useEffect hook. The hook will fetch the data once the component has been mounted.
We will also manage the lifecycle of the request, setting the state based on the outcome.
useEffect(() => {
    fetchItems(endpoint)
    .then( items => setData({ items, state: 'DONE' }))
        .catch( () => setData({ items: null, state: 'ERROR' });
}, [endpoint]);
Putting everything together
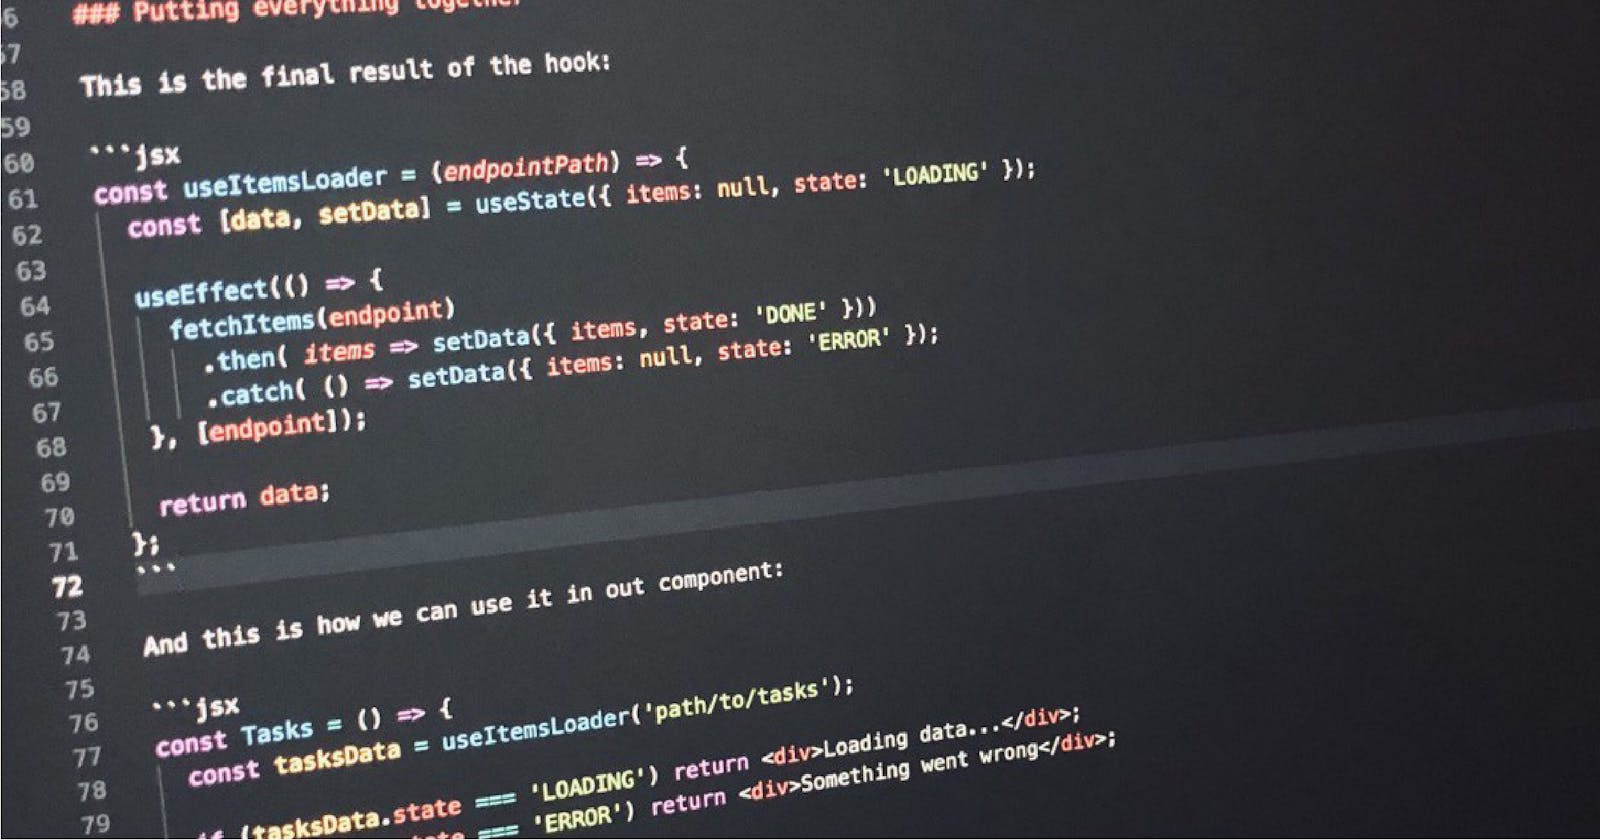
This is the final result of the hook:
const useItemsLoader = (endpointPath) => {
    const [data, setData] = useState({ items: null, state: 'LOADING' });

    useEffect(() => {
        fetchItems(endpoint)
        .then( items => setData({ items, state: 'DONE' }))
            .catch( () => setData({ items: null, state: 'ERROR' });
    }, [endpoint]);

    return data;
};
And this is how we can use it in out component:
const Tasks = () => {
  const tasksData = useItemsLoader('path/to/tasks');

  if (tasksData.state === 'LOADING') return <div>Loading data...</div>;
  if (tasksData.state === 'ERROR') return <div>Something went wrong</div>;

  return (
    <div>
      <h1>Tasks</h1>
      {tasksData.items.map((task) => (
        <Task task={task} />
      ))}
    </div>
  );
};
We could do the same with our other Projects component, reusing the useItemsLoader but with a different endpoint.
Custom hooks are a good solution even for more complex solutions. They allow us to have the logic contained and separated from our components improving the maintainability of our code. If we need to change something in the future we will need to do it in a single place.
